
In today’s article, we’ll explore how to custom a board game for school project from design, develop and produce, to help your board game stand out and achieve its educational goals.
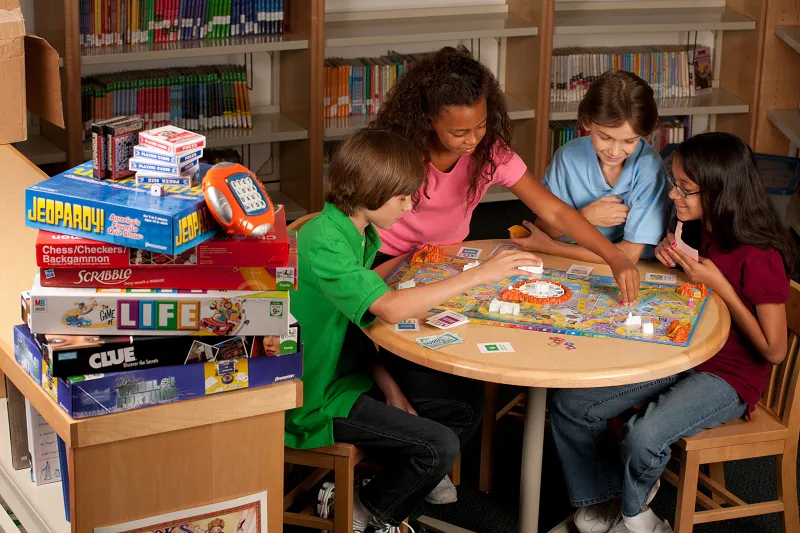
Embarking on the journey of creating a custom board game for your school project can be an exhilarating experience. It’s an opportunity to blend creativity, strategic thinking, and educational elements into a unique, interactive format. Whether you’re aiming to reinforce curriculum concepts, enhance problem-solving skills, or simply create an engaging learning tool, customizing a board game offers a multitude of benefits.
Understanding the Basics of Board Game Design
Before diving into the creation process, it’s crucial to grasp the fundamental elements that make up a successful board game. Understanding these components will provide a solid foundation for your custom game design.
Core Game Mechanics
The heart of any board game lies in its mechanics. These are the rules and systems that govern gameplay, determining how players interact with the game and each other. When designing your custom board games, consider incorporating mechanics that align with your educational goals. For instance, if your project aims to teach math skills, you might include dice rolling and resource management mechanics that require players to perform calculations.
Some popular game mechanics to consider include:
-
Dice rolling for randomization
-
Card drawing for element of chance
-
Resource management for strategic decision-making
-
Area control for spatial awareness
-
Set collection for pattern recognition
Experiment with combining different mechanics to create a unique and engaging gameplay experience that supports your educational objectives.
Theme and Narrative
A compelling theme can transform a simple game into an immersive experience. When customizing your board game, choose a theme that resonates with your target audience and complements the educational content. For example, if your project focuses on history, you might create a game set in a specific time period, allowing players to explore historical events and figures through gameplay.
Consider these elements when developing your game’s theme:
-
Setting: Where and when does the game take place?
-
Characters: Who are the main players or entities in the game world?
-
Conflict: What challenges or obstacles do players face?
-
Progression: How do players advance through the game?
By weaving these elements together, you’ll create a cohesive narrative that enhances the learning experience and keeps players engaged.
Player Interaction and Engagement
The level of player interaction in your board game can significantly impact its educational value and enjoyment. Consider how players will interact with the game components and each other. Will they compete directly, cooperate towards a common goal, or a combination of both?
Some ways to enhance player interaction include:
-
Trading mechanisms to encourage negotiation skills
-
Team-based gameplay to promote collaboration
-
Variable player powers to create diverse strategies
-
Hidden information to foster deduction and critical thinking
By carefully designing player interactions, you can create opportunities for social learning and skill development beyond the core educational content.
Planning Your Board Game
With a solid understanding of board game basics, it’s time to plan your custom creation. This stage is crucial for ensuring your game aligns with your school project requirements and educational goals.
Defining Educational Objectives
Start by clearly outlining the learning outcomes you want to achieve with your custom board game. Consider the following questions:
-
What specific skills or knowledge do you want players to gain?
-
How will the game reinforce or supplement classroom learning?
-
Are there particular curriculum standards you need to address?
By establishing clear educational objectives, you’ll have a guiding framework for all subsequent design decisions.
Identifying Target Audience
Understanding your audience is key to creating a game that resonates with players. Consider factors such as:
-
Age range of intended players
-
Prior knowledge or skill level required
-
Interests and preferences of your target group
Tailoring your game to your audience will ensure it’s both challenging and enjoyable, maximizing its educational impact.
Determining Game Complexity
The complexity of your custom board game should align with your educational objectives and target audience. A game if too simple may fail to engage players, while one if overly complex might frustrate them. Consider factors such as: number of rules and mechanics, length of gameplay, depth of strategy required, etc.
Strive for a balance that challenges players without overwhelming them, ensuring the learning experience remains enjoyable and effective.
Setting a Development Timeline
Custom a board game for a school project requires careful time management. Break down the development process into manageable stages, such as:
-
Concept development and initial design
-
Prototyping and playtesting
-
Refinement and iteration
-
Final production and presentation
Allocate sufficient time for each stage, keeping in mind school deadlines and any required review processes.
Designing Game Components
With your plan in place, it’s time to design your game components. Each element of your game should support your educational objectives while contributing to an engaging gameplay experience.
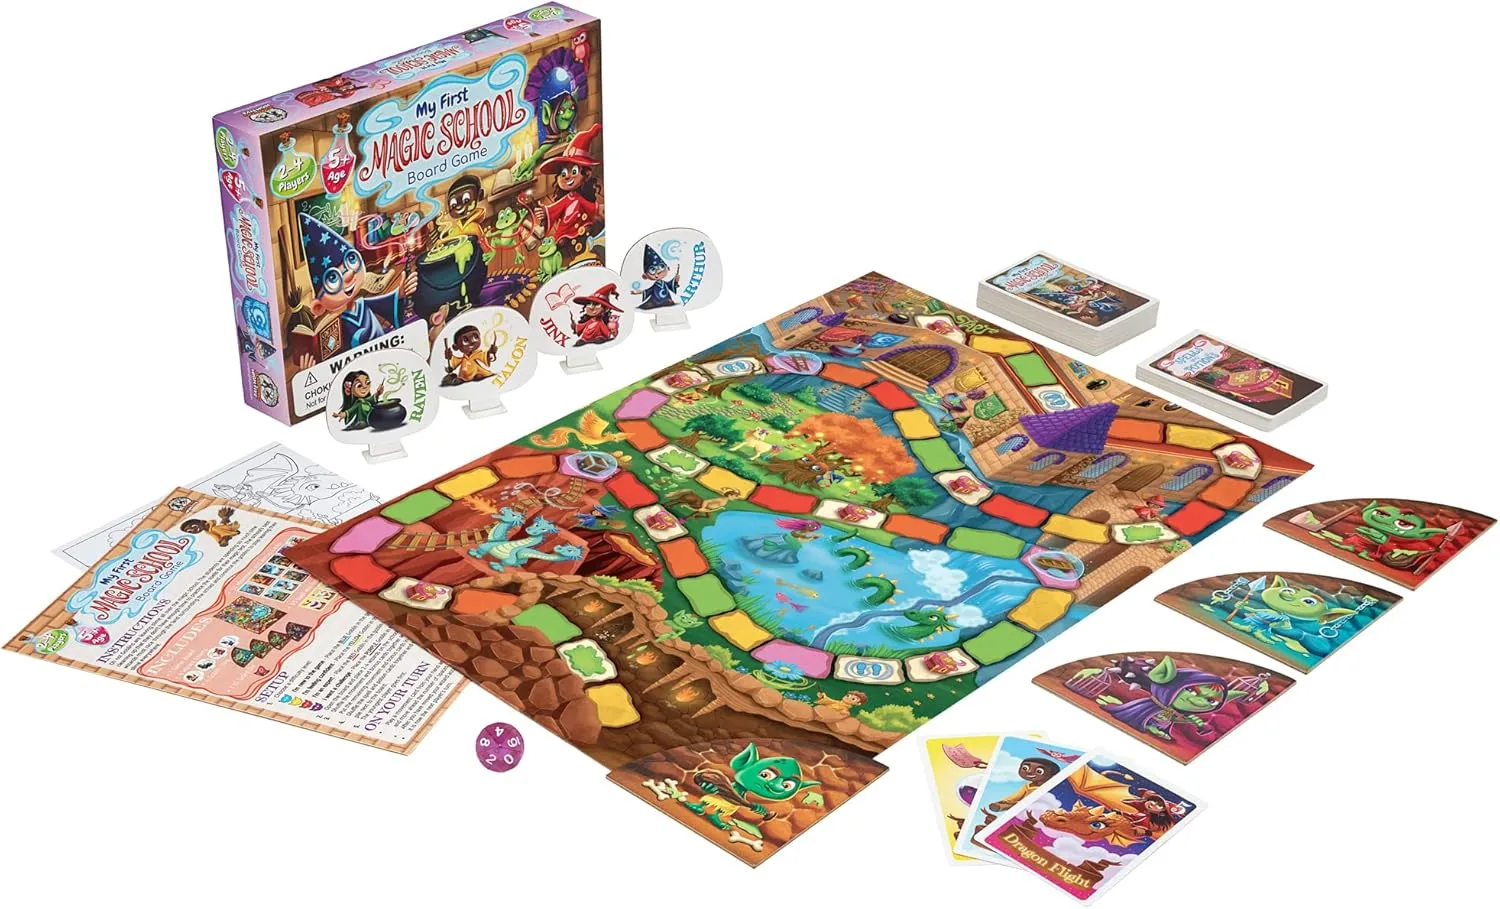
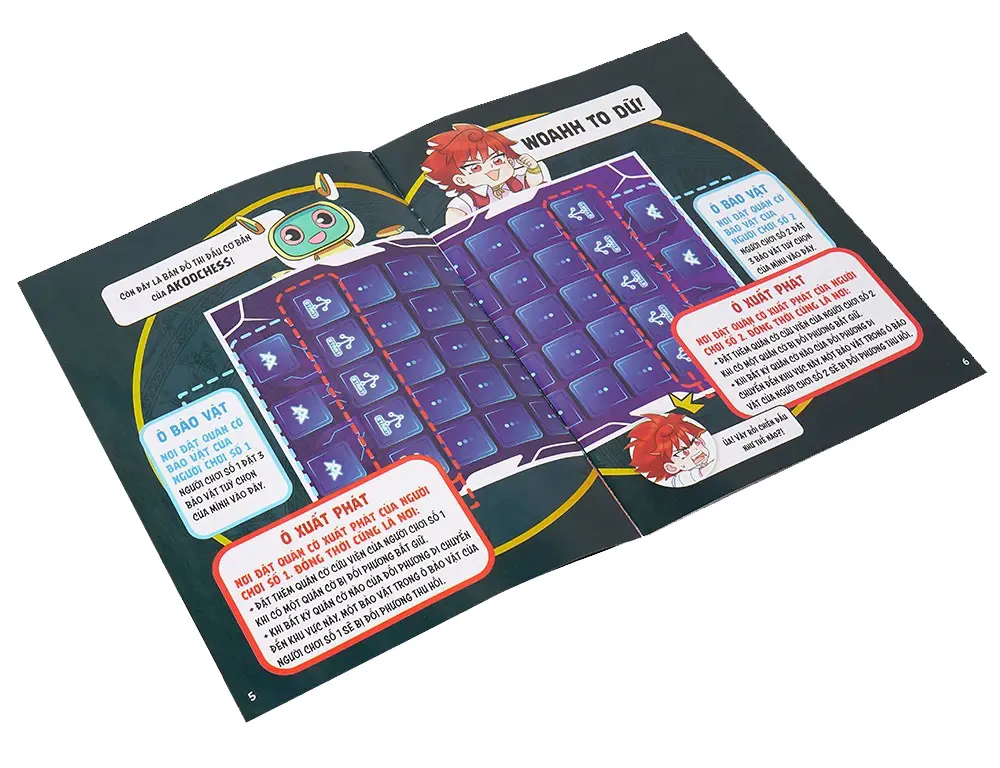
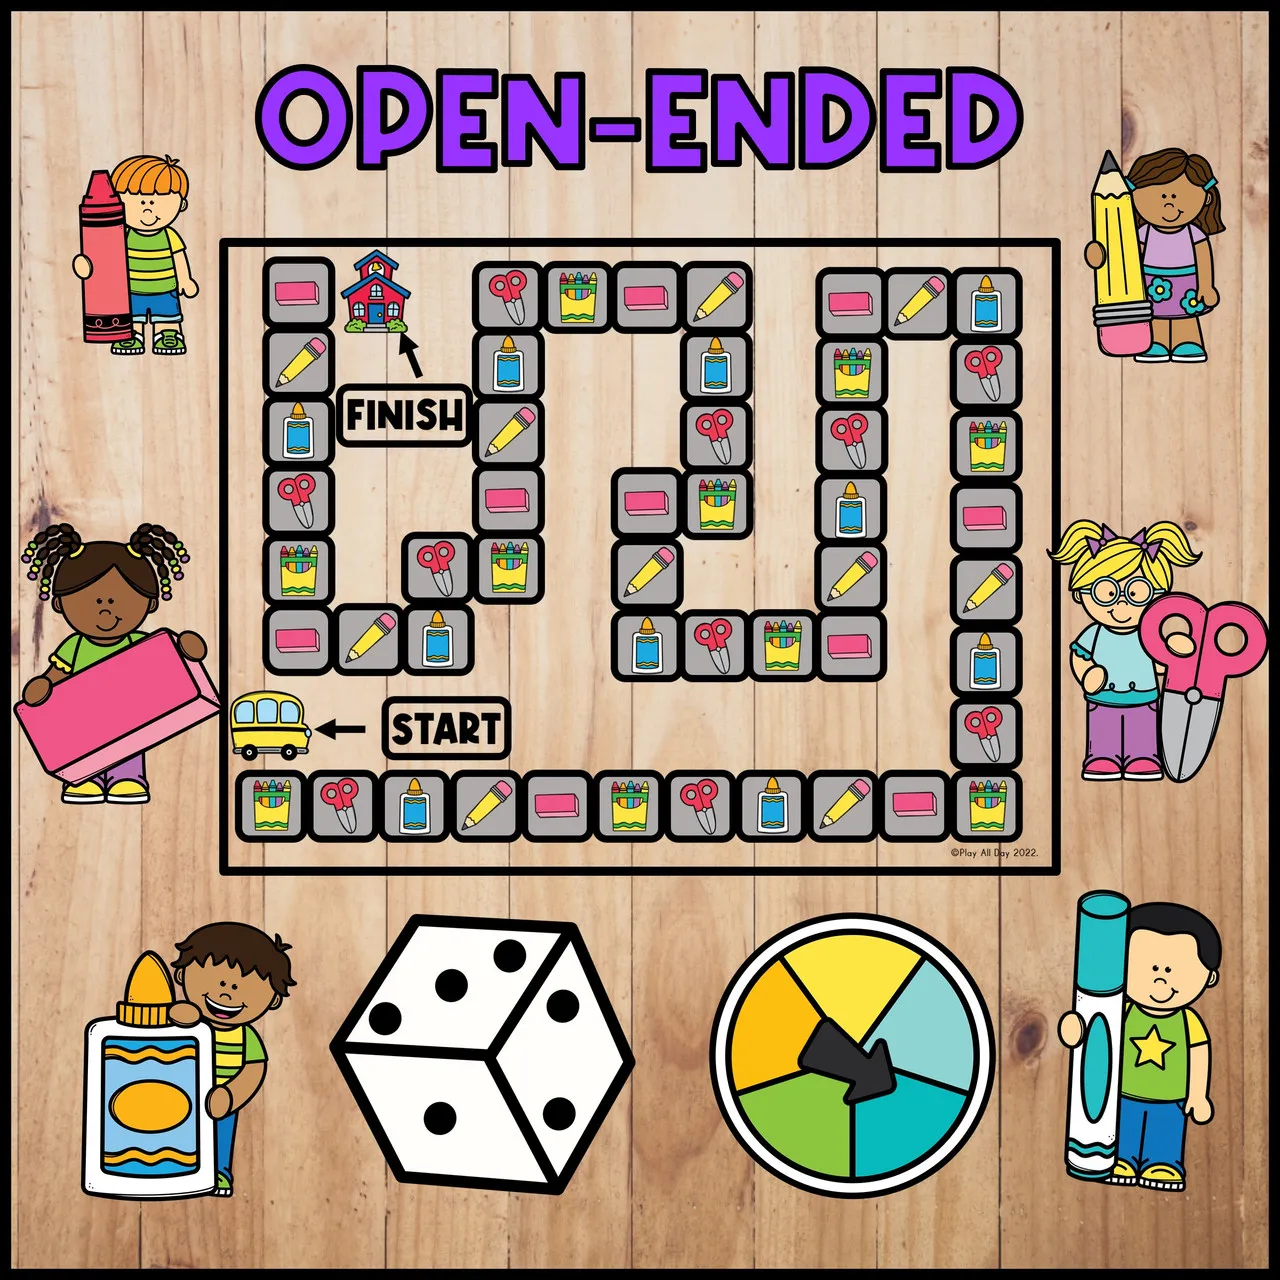
Game Board Layout
The game board is often the centerpiece of a board game, serving as the primary playing surface and visual representation of the game world. When designing your game board, consider:
-
Size and shape: Ensure it’s appropriate for your intended gameplay and practical for your production methods.
-
Spaces or paths: Design a layout that supports your game mechanics and theme.
-
Visual elements: Incorporate graphics, colors, and text that enhance understanding and engagement.
Remember to balance aesthetic appeal with functionality, ensuring the board clearly communicates game information to players.
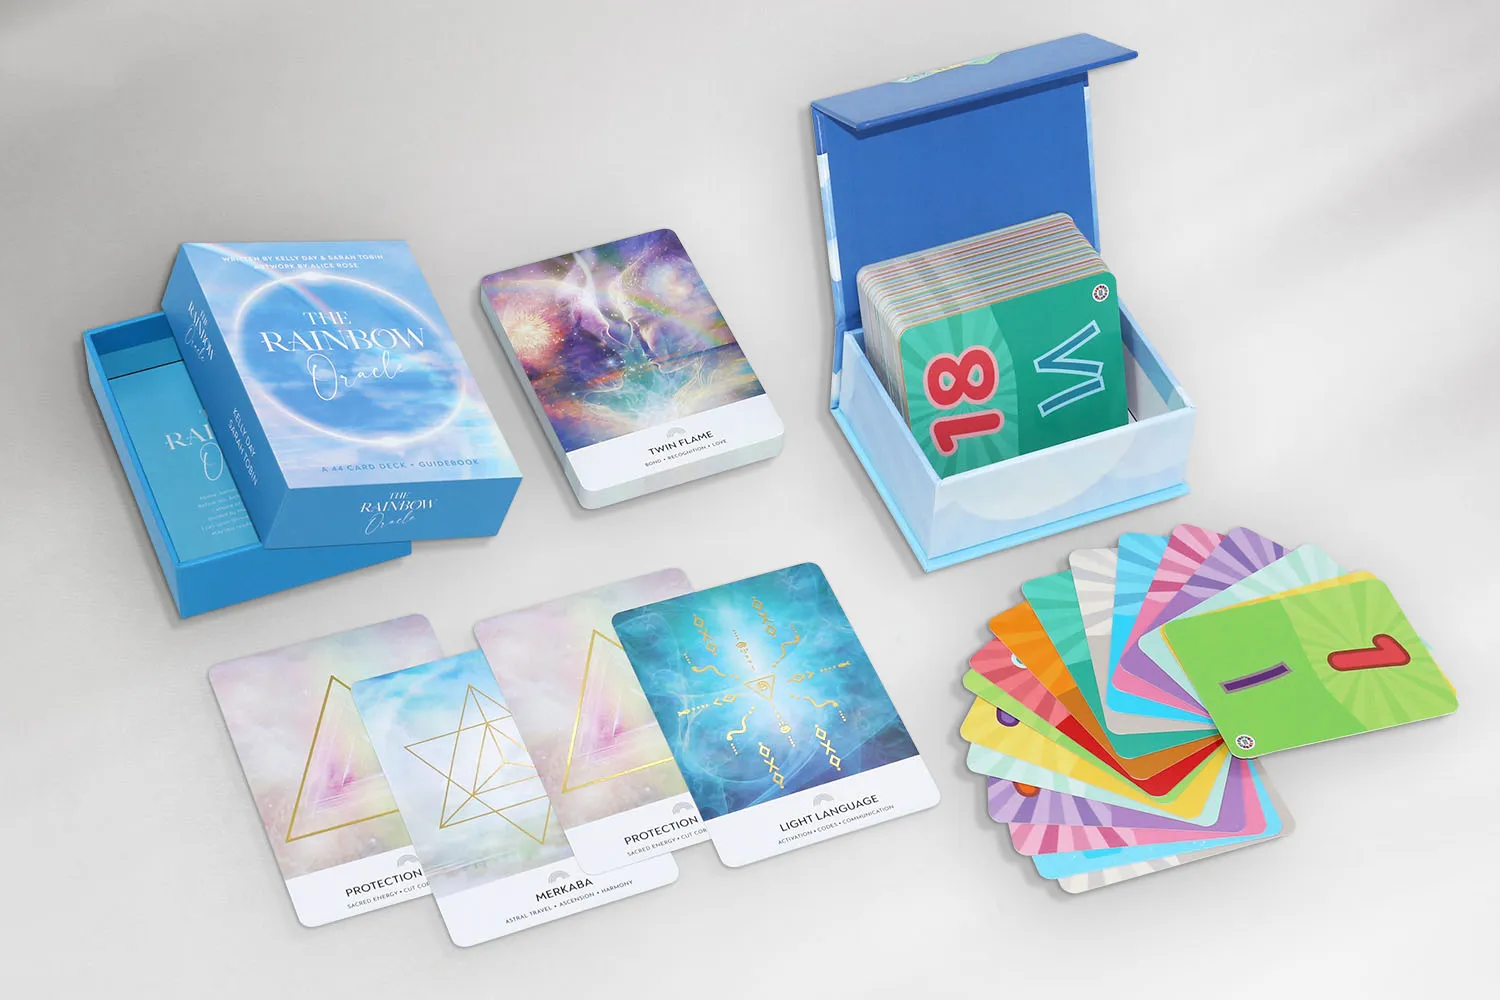
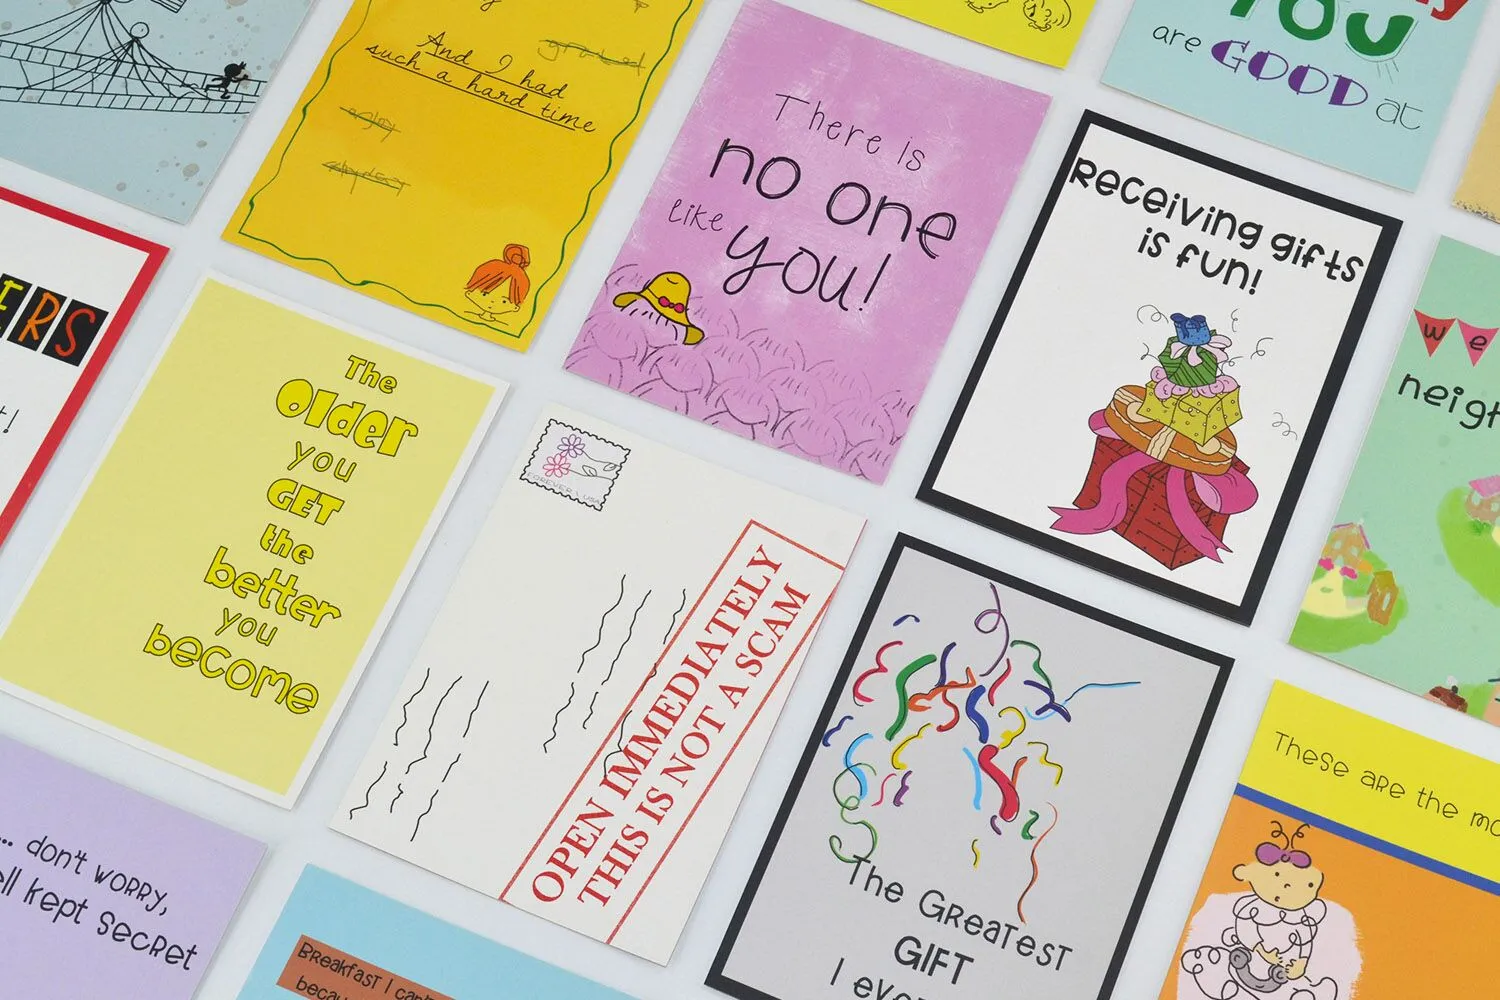
Cards and Tokens
Cards and tokens are versatile components that can serve multiple purposes in your custom board game. They can represent resources, actions, events, or player attributes. When designing these elements:
-
Determine the information each card or token needs to convey
-
Create a clear and consistent layout for easy comprehension
-
Use icons and symbols to reinforce text and enhance visual recognition
-
Consider the durability and size of materials for practical gameplay
Well-designed cards and tokens can significantly enhance the educational value of your game by reinforcing key concepts through repeated interaction.
Dice and Other Randomizers
If your game incorporates elements of chance, carefully consider the type and number of randomizers to use. Standard six-sided dice are common, but you might also explore: custom dice with special symbols or numbers, even custom spinners for a different randomization experience.
Choose randomizers that complement your game mechanics and support your educational goals. For example, custom dice with mathematical operations could reinforce math skills in a fun, interactive way.
Player Pieces and Markers
Player pieces and markers help track progress and represent players within the game. When designing these components:
-
Ensure they’re easily distinguishable from one another
-
Consider how they interact with other game elements
-
Choose designs that reinforce your game’s theme
Remember that these pieces are often the most handled components. So durability should be a key consideration in your design.
Crafting Game Rules and Instructions
Clear, concise rules are essential for ensuring players can quickly understand and enjoy your board game. Well-crafted instructions not only help gameplay but can also reinforce learning objectives.
Writing Clear and Concise Rules
When drafting your game rules:
-
Use simple, straightforward language
-
Organize information logically, following the flow of gameplay
-
Include examples to illustrate complex concepts
-
Consider using bullet points or numbered lists for easy reference
Remember, the goal is to enable players to start playing as quickly as possible while fully understanding the game mechanics.
Creating a Quick Start Guide
A quick start guide can help players begin playing immediately, with more detailed rules available for reference. This guide should outline the basic premise and objectives of the game and provide a brief overview of the turn structure. It is also essential to highlight the key rules and mechanics.
Incorporating Visual Aids
Visual aids can significantly enhance understanding of game rules and mechanics. Consider including: diagrams illustrating the game setup, examples of game scenarios, and icons or symbols used consistently across rules and components. These visual elements can help players quickly grasp complex concepts and reinforce learning objectives.
Playtesting and Refining Instructions
Once you’ve drafted your rules, conduct thorough playtesting to identify any areas of confusion or ambiguity. Observe players as they learn and play your game, noting:
-
Questions that arise during gameplay
-
Rules that seem unclear or are frequently misinterpreted
-
Areas where players struggle to understand or remember rules
Use these insights to refine and clarify your instructions, ensuring a smooth and enjoyable gameplay experience that supports your educational goals.
Prototyping Your Custom Board Game
Prototyping is a crucial step in the development of your school project board game. It allows you to test and refine your ideas before committing to final production. This iterative process helps ensure your game is both fun and educationally effective.
Creating a Paper Prototype
Start with a simple paper prototype to test your core game mechanics and overall concept. This low-fidelity version can be quickly assembled using:
-
Cardboard or thick paper for the game board
-
Index cards for game cards or tiles
-
Basic shapes cut from colored paper for tokens or pieces
-
Hand-drawn illustrations or printed images for visual elements
The goal at this stage is to have a playable version of your game. It allows you to test the fundamental gameplay experience without investing significant time or resources in polished components.
Digital Prototyping Tools
While paper prototypes are excellent for initial testing, digital tools can streamline the iteration process and help you create more refined prototypes. Consider using:
-
Graphic design software like Adobe Illustrator or Canva for creating game components
-
Board game design platforms such as Tabletop Simulator or Tabletopia for virtual playtesting
-
3D modeling software for designing game pieces or dice
These digital tools can help you quickly adjust designs, share prototypes with testers, and prepare files for final production.
Iterative Design Process
Prototyping is an iterative process. After each playtest session:
-
Gather feedback from players on gameplay experience, rule clarity, and educational value
-
Analyze the feedback and identify areas for improvement
-
Make necessary adjustments to game mechanics, components, or rules
-
Create an updated prototype incorporating these changes
-
Repeat the process until you’re satisfied with the game’s performance
Remember, each iteration should bring you closer to a game that effectively meets your educational objectives while providing an engaging player experience.
Balancing Gameplay and Educational Content
Throughout the prototyping process, continuously evaluate how well your game balances entertainment with educational value. Consider:
-
Are players engaged and having fun while learning?
-
Does the gameplay reinforce the intended learning outcomes?
-
Is the educational content seamlessly integrated into the game mechanics?
Strive to create a game where the learning feels natural and rewarding, rather than forced or separate from the core gameplay experience.
Playtesting and Refinement
Playtesting is a critical phase in developing your school board game. It provides valuable insights into player experience, game balance, and educational effectiveness. Thorough playtesting and subsequent refinement ensure your game meets its objectives and provides an enjoyable learning experience.
Organizing Playtest Sessions
To get the most out of your playtesting, consider the following:
-
Recruit a diverse group of testers, including: classmates or peers in your target age range, teachers or subject matter experts, individuals unfamiliar with your project for fresh perspectives.
-
Create a structured feedback form or questionnaire to capture specific insights on: gameplay enjoyment, rule clarity, educational value and suggested improvements.
-
Observe players during the session, noting: areas of confusion or frustration, moments of engagement and excitement, how well players grasp the education content.
Analyzing Feedback
After each playtest session, carefully review the feedback collected:
-
Look for patterns or recurring themes in player comments
-
Identify aspects of the game that consistently receive positive or negative feedback
-
Assess how well the game is meeting its educational objectives
-
Consider unexpected outcomes or player strategies that emerged during play
Use this analysis to prioritize areas for improvement and guide your refinement efforts.
Iterative Refinement
Based on your analysis, make targeted improvements to your game:
-
Adjust game mechanics to enhance flow and engagement
-
Clarify rules or instructions that caused confusion
-
Modify components to better support gameplay and learning objectives
-
Enhance visual design elements to improve understanding and appeal
After each round of changes, conduct additional playtests to verify the effectiveness of your refinements.
Balancing Complexity and Accessibility
Throughout the refinement process, strive to maintain a balance between game depth and accessibility:
-
Ensure the game remains challenging enough to engage players
-
Keep rules and mechanics simple enough for your target audience to grasp quickly
-
Verify that the educational content is neither too basic nor too advanced
Remember, the goal is to create a game that is both educational and enjoyable for your intended players.
Finalizing Game Design and Components
As you near the completion of your custom school board game project, it’s time to focus on finalizing the design and components. This stage is crucial for creating a polished, professional-looking game that effectively communicates your educational content.
Refining Visual Design
A cohesive and appealing visual design enhances player engagement and supports learning objectives. Consider the following aspects:
-
Color scheme: Choose colors that are visually appealing and support your game’s theme. Ensure sufficient contrast for readability.
-
Typography: Select fonts that are clear and legible, especially for important game information. Consider using different font styles to differentiate between types of information (e.g., headings, body text, flavor text).
-
Iconography: Develop a consistent set of icons to represent game concepts or actions. This can improve gameplay flow and reinforce learning.
-
Illustrations: If using illustrations, ensure they complement your theme and enhance understanding of game concepts.
-
Layout: Organize information on cards, boards, and other components in a logical, easy-to-read manner.
Remember to maintain consistency across all game elements to create a cohesive look and feel.
Preparing for Production
Before producing your school board game project, careful preparation is key.
Firstly, finalize all artwork and designs, ensuring they meet any specific requirements for your chosen production method.
Secondly, create print-ready files, paying attention to: correct file formats(e.g., PDF), high resolution, CMYK color, bleed and safe zones.
Finally, proofread all text elements, including rules, cards, and board content, to eliminate errors.
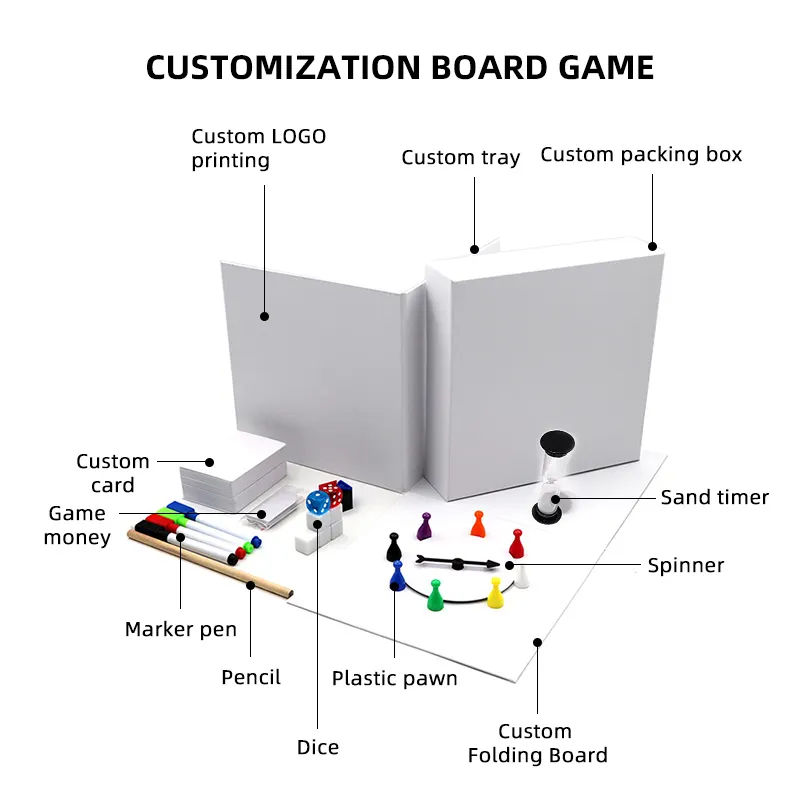
Sourcing Materials
For physical production of your custom board game, consider the following:
-
Game board: We recommend use art paper mounted cardboard to achieve a vibrant printing effect while still maintain durability.
-
Cards: Choose appropriate card stock and finish (e.g., glossy, matte, linen, recycled).
-
Tokens and pieces: Explore options like wooden pieces, plastic tokens, or custom 3D-printed components.
-
Dice and other randomizers: Select standard dice or investigate custom options that align with your game mechanics.
-
Storage solution: Custom box to safely holds all game components and enhances the overall presentation.
When selecting materials, balance quality, durability, and cost-effectiveness to meet your project requirements.
Creating a Prototype for Presentation
For your school project presentation, consider creating a high-quality prototype that showcases your game’s design and educational value:
-
Use the best quality materials available within your budget to create a polished representation of your game.
-
Prepare a visually appealing display that highlights key game components and educational elements.
-
Create supplementary materials such as: a brief game overview or “sell sheet”, examples of how the game aligns with specific curriculum standards and visual aids demonstrating the game’s educational impact.
-
Practice a concise explanation of your game’s rules and educational objectives to effectively communicate your project’s value.
Documenting the Design Process
Thoroughly documenting your journey in creating a board game is crucial for your school project. It not only demonstrates your thought process and effort but also provides valuable insights for future iterations or similar projects.
Creating a Design Journal
Maintain a comprehensive design journal throughout the project:
-
Record initial brainstorming sessions and concept sketches
-
Document decision-making processes for game mechanics and educational elements
-
Note challenges encountered and solutions implemented
-
Include photographs or scans of early prototypes and iterations
-
Reflect on feedback received during playtesting sessions
This journal serves as a valuable resource for your project presentation and future reference.
Compiling a Project Portfolio
Assemble a project portfolio that showcases the development of your custom board game:
-
Executive summary outlining project goals and outcomes
-
Detailed description of game mechanics and educational objectives
-
Visual progression of game components from initial sketches to final designs
-
Summary of playtesting results and subsequent refinements
-
Reflection on the learning outcomes achieved through the project
Include both successes and challenges faced, demonstrating your problem-solving skills and project management abilities.
Preparing a Presentation
Develop a compelling presentation to effectively communicate your project:
-
Create a visually engaging slideshow or poster highlighting key aspects of your game
-
Prepare talking points that cover, such as inspiration and educational goals, design process and challenges overcome, key game mechanics and how they support learning objectives, results of playtesting and refinement and more.
-
Consider including a brief demo or playthrough video to showcase your game in action
Practice your presentation to ensure you can confidently explain your board game and its educational value.
Evaluating Educational Impact
Assessing the educational impact of your school board game is crucial for demonstrating its value as a learning tool. This evaluation process helps validate your design choices and provides insights for potential improvements.
Defining Measurable Learning Outcomes
Clearly articulate the specific learning outcomes your game aims to achieve:
-
Identify key knowledge areas or skills the game targets
-
Develop concrete, measurable objectives (e.g., “Players will be able to solve basic algebraic equations”)
-
Align these outcomes with relevant curriculum standards or educational frameworks
Having well-defined outcomes provides a solid foundation for your evaluation process.
Designing Assessment Tools
Create tools to measure the effectiveness of your game in achieving its learning objectives:
-
Pre- and post-game quizzes to assess knowledge gain
-
Observational checklists to track specific behaviors or skills during gameplay
-
Player self-assessment surveys to gauge perceived learning and engagement
-
Rubrics for evaluating game-created artifacts (e.g., strategies developed, problems solved)
Ensure your assessment tools are appropriate for your target age group and align with your defined learning outcomes.
Conducting Evaluation Sessions
Organize structured evaluation sessions to gather data on your game’s educational impact:
-
Select a diverse group of participants representative of your target audience
-
Administer pre-game assessments to establish baseline knowledge or skills
-
Facilitate gameplay sessions, observing and documenting player interactions and learning moments
-
Conduct post-game assessments and collect feedback from players
-
If possible, arrange follow-up sessions to assess long-term retention of learned concepts
Maintain consistency in your evaluation process across multiple sessions for reliable results.
Analyzing and Interpreting Results
Carefully analyze the data collected from your evaluation sessions:
-
Compare pre- and post-game assessment results to quantify knowledge gain
-
Review observational data to identify patterns in skill development or concept understanding
-
Analyze player feedback to gauge engagement and perceived educational value
-
Look for correlations between game mechanics and learning outcomes
Use this analysis to draw conclusions about your game’s effectiveness as an educational tool and identify areas for potential improvement.
Reporting Findings
Compile a comprehensive report on your game’s educational impact:
-
Summarize your evaluation methodology and assessment tools
-
Present quantitative data on learning outcomes achieved
-
Include qualitative insights from observations and player feedback
-
Discuss how the game’s design elements contributed to learning
-
Identify areas of success and opportunities for enhancement
-
Propose recommendations for future iterations or classroom implementation
This report serves as a valuable component of your project documentation and demonstrates the educational validity of your custom board game.
Conclusion
Custom a board game for your school project is a multifaceted endeavor that combines creativity, educational theory, and game design principles. By following this comprehensive guide, you’ve embarked on a journey that not only results in a unique educational tool but also develops valuable skills in project management, critical thinking, and iterative design.
Remember that the process of designing and refining your game is as valuable as the final product. Each challenge overcome and iteration made contributes to your learning experience and the overall quality of your project. As you present your board game, take pride in the thoughtful design choices, educational considerations, and creative solutions you’ve implemented throughout the development process.
If you’re ready to get your board game project made, contact us today for an instant free quote or send us an email at sales@bookprintingchina.com. Our experts will be happy to hear from you and answer any questions you may have.