
Creating a recipe book is a rewarding endeavor that allows us to share cherished culinary creations with others. However, organizing recipes for printing requires careful planning and execution. This guide provides a comprehensive roadmap for organizing recipes to ensure successful recipe book printing. By following these steps, you’ll ensure your final product is both visually appealing and easy to navigate.
Why Recipe Organization Matters Before Printing
Before you start designing or formatting your cookbook, it’s essential to understand why proper recipe organization is such an important step. Organizing your recipes isn’t just about sorting them into categories; it’s about building a solid foundation for a seamless printing process, a visually appealing layout, and an enjoyable reading experience. Here’s why taking time to organize your recipes makes all the difference before you print.
Ensures a Smooth Printing Process
A well-organized manuscript makes the printing process faster, cleaner, and far more efficient. When recipes are formatted consistently—with uniform headings, ingredient lists, and instructions—printers can easily align text, images, and layouts without confusion.
But disorganized or inconsistent content often leads to layout issues such as missing pages, uneven margins, or incorrect sequencing. Each of these mistakes can delay production and increase printing costs. Proper organization upfront helps ensure your book moves smoothly from draft to printed masterpiece.
Improves Readability and User Experience
A cookbook should be as enjoyable to read as it is to cook from. Organizing your recipes logically and intuitively, such as by meal type, main ingredient, cuisine, or difficulty level, makes it easier for readers to navigate your book.
Consistency is key: keeping a uniform structure for ingredients, measurements, and cooking steps helps readers follow along effortlessly. This thoughtful organization not only enhances usability but also gives your book a polished, professional touch that invites readers to return to it again and again.
Enhances the Book’s Visual Appeal
Great design begins with well-structured content. When your recipes follow a consistent format, your designer can focus on creating visual harmony across the pages. Balanced layouts, evenly spaced sections, and aligned photos all contribute to a clean, attractive design. Organized content also ensures that imagery and text flow naturally together, making your cookbook more engaging to flip through. The result is a beautifully printed book that looks as good as the dishes it features.

Reduces Editing and Reprinting Errors
Recipe organization isn’t just about aesthetics; it’s also a key part of quality control. When your recipes are scattered or inconsistently formatted, it’s easy to overlook small yet critical details like missing ingredients, inconsistent cooking times, or measurement errors.
By organizing and reviewing your recipes early, you can catch these issues before layout and printing. This minimizes the risk of costly reprints or embarrassing mistakes, saving you both time and money in the long run.
Creates a Stronger Brand and Reader Connection
Whether you’re compiling family favorites or publishing as a professional chef, the way you organize your cookbook shapes your readers’ impression of you. A clear, thoughtful structure reflects your culinary style and attention to detail. It also helps readers connect emotionally with your story—whether that’s through themed chapters, personal notes, or a consistent design style.
A well-organized recipe book doesn’t just showcase your dishes; it showcases you. It transforms your collection into a meaningful keepsake and a trusted kitchen companion.
Step 1: Gather All Your Recipes in One Place
The first and most important step in creating a recipe book is to collect all your recipes into one central location. Many aspiring cookbook creators have their recipes scattered across different formats, handwritten notes, printed cards, emails, screenshots, online bookmarks, or even old family notebooks. Before you can begin organizing or designing your cookbook, you need everything gathered and accessible in one place.
Collect from Every Source
Start by tracking down every recipe you want to include. Check your phone notes, email drafts, cloud storage, printed papers, and family recipe boxes. Don’t forget to ask relatives or friends for any recipes they may have shared with you over the years. The goal is to compile a complete list of potential recipes before you start editing or selecting which ones to include in your printed book.
Create a Central Digital Folder
Once you’ve collected your recipes, create a single digital folder on your computer or cloud storage (such as Google Drive, Dropbox, or OneDrive). Within this folder, you can create subfolders to categorize recipes by type—like “Appetizers,” “Main Dishes,” “Desserts,” and “Drinks.” Keeping everything stored digitally makes it easier to edit, format, and share with designers or printers later.
If your recipes are handwritten, consider scanning or photographing them so they can be easily converted into digital text. There are apps like CamScanner or Adobe Scan that make this process simple and quick.
Use Consistent File Naming
A clear naming system helps you stay organized from the start. For example: RecipeName_MainIngredient_Type (e.g., ChocolateCake_Dessert, GrilledSalmon_Seafood_MainDish). Consistent file names make it easy to search and sort recipes as your collection grows.
Keep Notes and Ideas Together
Alongside your recipes, keep a document or spreadsheet for notes—such as testing feedback, photo ideas, or ingredient substitutions. This will help you later when you’re refining recipes and planning the layout of your book.
Gathering all your recipes in one place lays the groundwork for everything that follows. It saves time during editing, helps maintain consistency, and ensures no beloved recipe is forgotten. By organizing from the very beginning, you make the entire process, from editing to printing, smoother, faster, and more enjoyable.
Step 2: Categorize Your Recipes
Categorizing recipes is a pivotal step in creating a user-friendly recipe book. There are several organizing styles to consider, each offering unique advantages:
-
By meal type: Categorizing by meal type, such as breakfast, lunch, dinner, and desserts, helps readers quickly find recipes suited to specific times of the day.
-
By main ingredient: Organizing recipes by main ingredients like poultry, seafood, or vegetarian options allows readers to explore dishes based on dietary preferences or available ingredients.
-
By occasion or season: Grouping recipes by occasions, such as holiday meals or summer favorites, provides readers with inspiration for themed cooking.
Selecting an organizing style that aligns with the book’s theme enhances its coherence and usability. A clear categorization system helps readers navigate the printed recipe book effortlessly, making it a joy to use.
Step 3: Standardize Formatting
Once you’ve gathered and categorized your recipes, the next step is to standardize the formatting. This stage is where your recipe collection starts to look like a cohesive, professional cookbook rather than a mix of notes and ideas. Consistent formatting is essential not only for visual appeal but also for clarity, readability, and efficient printing.
When readers open your cookbook, they should immediately recognize a familiar structure from one recipe to the next. A consistent layout makes it easier for them to follow instructions, find ingredients, and enjoy the cooking experience without confusion. It also simplifies the design and printing process since uniform text and layout reduce the chances of misalignment or page inconsistencies.
Here’s a recommended structure for each recipe:
• Title: Choose clear, descriptive titles that capture the essence of the dish. Instead of vague names like “Grandma’s Favorite,” opt for something specific, such as “Grandma’s Classic Apple Pie.” Strong titles make it easier for readers to identify recipes and add personality to your cookbook.
• Ingredients: List all ingredients in a consistent order—usually in the sequence they are used in the recipe. Be sure to use one standard measurement system throughout your book (either metric or imperial) and stick to it. Avoid mixing abbreviations or inconsistent styles, as this can confuse readers. For instance, write “1 tablespoon” instead of “1 tbsp” to maintain clarity.
• Step-by-Step Instructions: Write instructions in short, easy-to-follow steps. Numbering each step improves readability and helps readers keep track while cooking. Use clear verbs and simple sentences to describe actions, avoiding unnecessary jargon or long paragraphs.
• Serving Size and Prep Time: Include preparation time, cooking time, and serving size for every recipe. This information helps readers plan their meals efficiently and set realistic expectations for time and portion size.
• Optional Notes or Tips: Add personal insights, serving suggestions, or substitution ideas at the end of the recipe. These small touches make your cookbook more engaging and relatable.
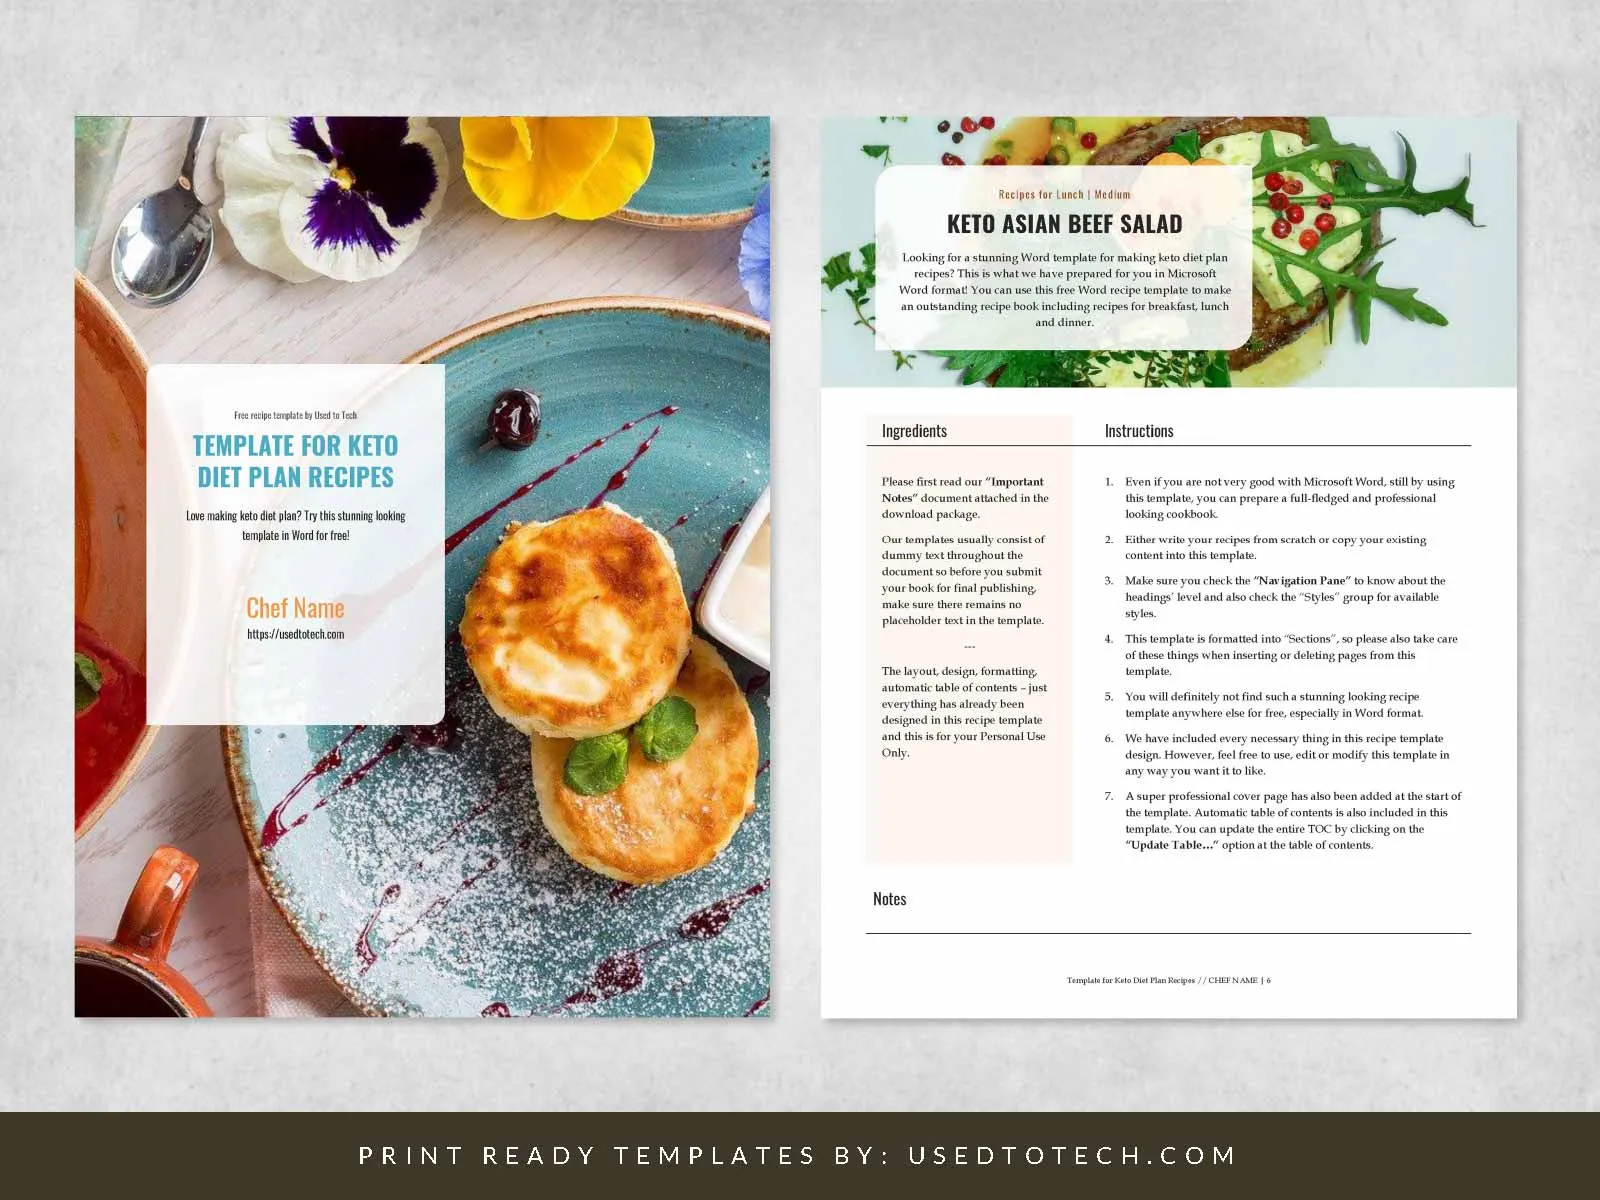
Finally, keep your formatting consistent across all recipes—fonts, spacing, alignment, and image placement. Professional design tools like Adobe InDesign, Illustrator, or even Usedtotech templates can help maintain uniformity throughout your book.
By standardizing your formatting early, you ensure that your finished recipe book looks polished, professional, and ready for printing.
Step 4: Edit and Test Your Recipes
Editing and testing recipes are critical to ensure accuracy and clarity. This step involves reviewing instructions for completeness, verifying measurements, and standardizing cooking terms. An optional but invaluable step is to have friends or family test recipes for clarity. This feedback can highlight areas that need improvement.
Proofreading is vital before moving to the layout stage. Making edits after layout can disrupt the print design, leading to additional work and potential errors. A thorough editing process guarantees that the final product is polished and professional.
By investing time in editing and testing, we ensure that readers receive a reliable and enjoyable cooking experience. This diligence reflects the quality and care put into the recipe book.
Step 5: Add Visuals and Extra Content
Once your recipes are written and formatted, it’s time to bring your book to life visually. Adding images and extra content transforms your cookbook from a simple collection of recipes into a rich, engaging experience that readers will love. Visuals don’t just make your book more beautiful; they inspire readers, build emotional connection, and make your recipes easier to follow.
Include High-Quality Photos
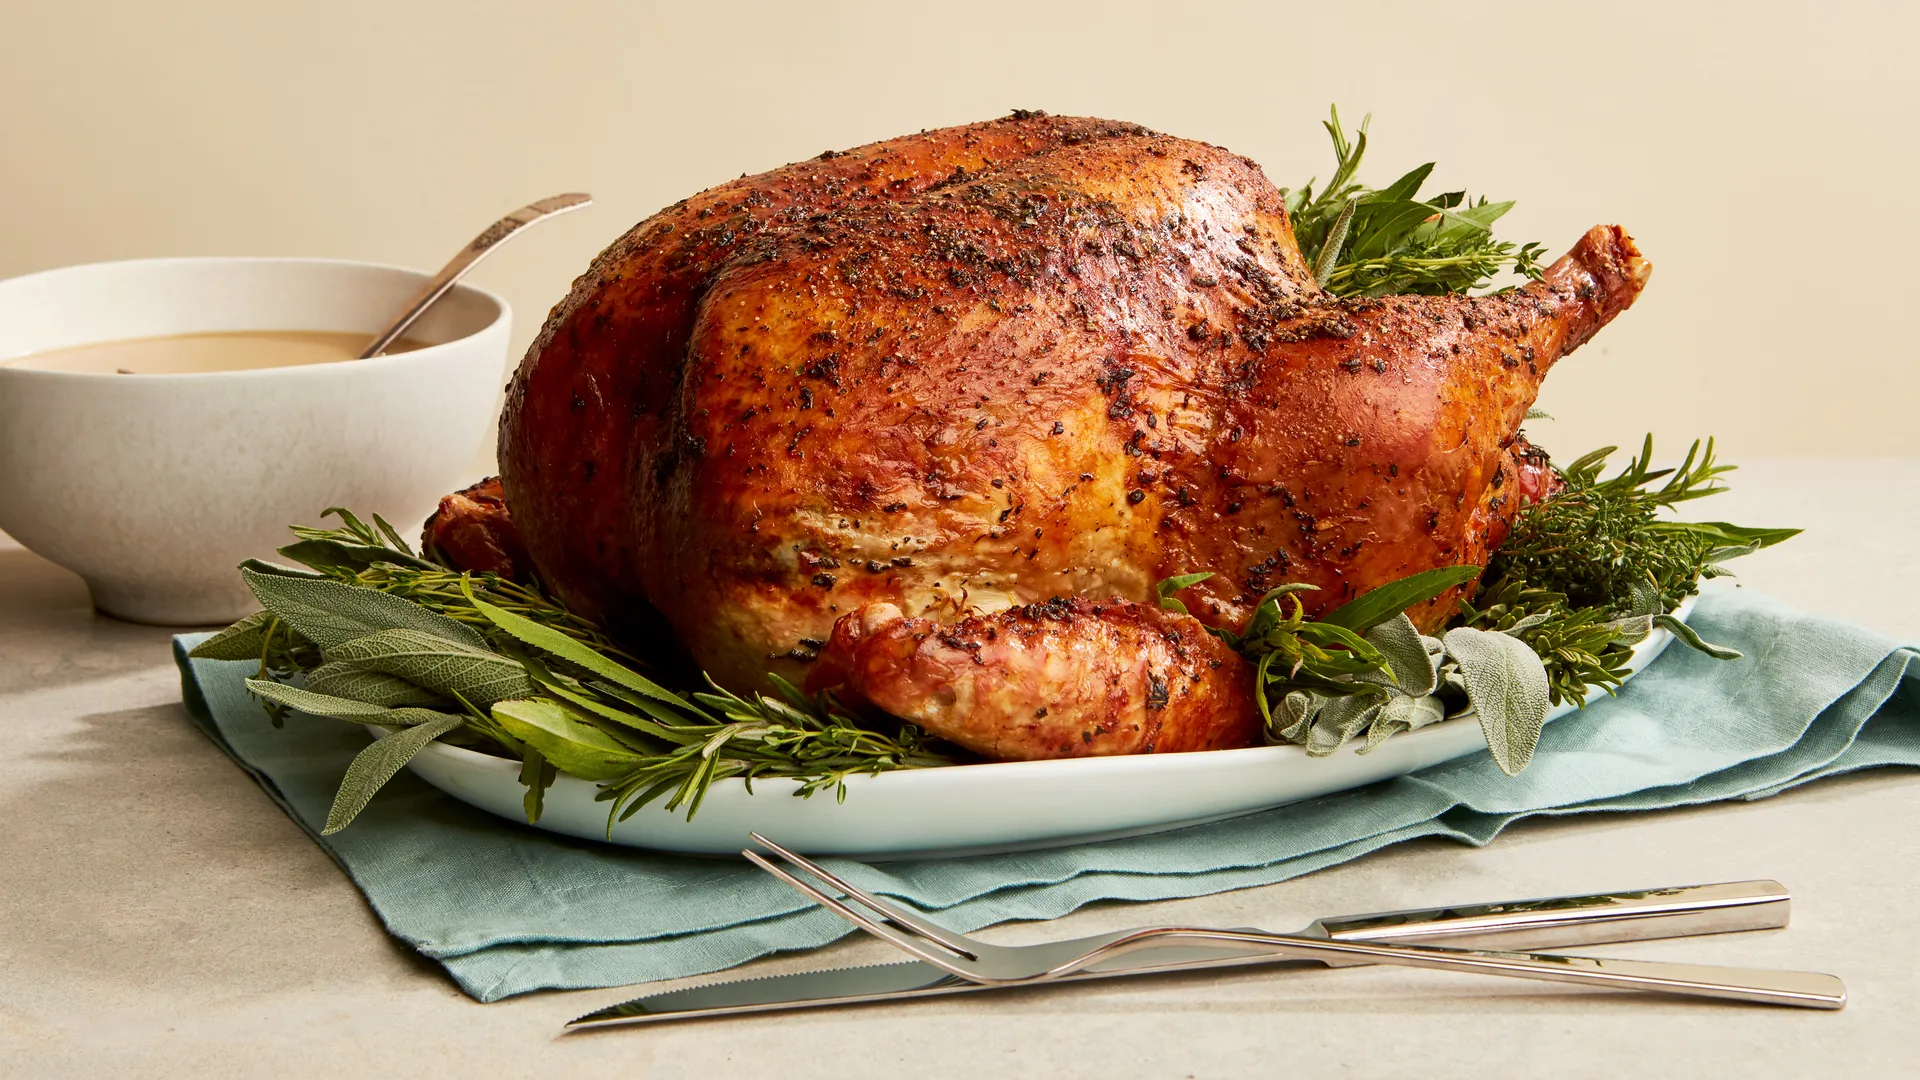
Photography is one of the most powerful storytelling tools in a recipe book. High-resolution images (at least 300 DPI for print) ensure that your photos appear crisp and professional on the page. Whenever possible, include at least one photo per recipe. If space or budget is limited, consider featuring a selection of hero images that represent the highlights of each section.
Food styling and lighting play a huge role—natural light and minimal props often create the most appetizing results. Consistent photography style throughout the book also enhances visual harmony. Whether you opt for a rustic, minimalist, or modern aesthetic, ensure it aligns with the tone of your recipes and brand.
Add Personal Stories or Backgrounds
A cookbook becomes more memorable when it tells a story. Adding short anecdotes about where the recipe came from, who inspired it, or how it’s traditionally served makes the book feel personal and authentic. For family cookbooks, these stories preserve culinary heritage. For professional chefs or food creators, they help readers connect with your journey and cooking philosophy.
Include Chef’s Tips or Substitution Suggestions
Enhance your recipes by sharing practical cooking insights. Include expert tips, preparation shortcuts, or ingredient substitutions for dietary needs. For example, offer gluten-free flour alternatives, vegan swaps, or storage advice. These thoughtful additions not only enrich the reader’s experience but also make your book more useful and inclusive.
Add Nutritional Information and Dietary Icons
Today’s readers value transparency and healthy living. Adding basic nutritional details, such as calories, protein, or fat content, helps readers make informed choices. Simple icons (like vegan 🌱, dairy-free 🥛✖️, or quick prep ⏱️) make recipes easy to scan and identify, improving accessibility and user experience.
These creative details turn your cookbook into more than just a set of instructions. They tell stories, share knowledge, and celebrate food visually and emotionally. By thoughtfully integrating visuals, personal touches, and useful extras, your printed recipe book becomes not only a cooking guide—but also a meaningful keepsake that readers will treasure for years to come.
Step 6: Organize Your Layout for Printing
After your recipes are written, edited, and visually enriched, it’s time to prepare your recipe book for printing. This step is where everything comes together, including the structure, design, and flow of your content. A well-organized layout not only makes your recipe book look professional but also ensures it prints smoothly and beautifully.
Plan the Structure of Your Book
Before diving into design software, decide on the flow of your book. A clear, logical sequence helps readers navigate effortlessly. A common recipe book structure includes:
-
Front Matter: Title page, copyright page, acknowledgments, foreword, and introduction.
-
Main Content: Recipes grouped into categories—such as appetizers, main dishes, desserts, or by theme (seasonal, regional, or dietary).
-
Back Matter: Index, conversion charts, or “about the author” section.
A thoughtful structure gives your book a professional rhythm, making it easier for printers to manage pagination and layout.
Ensure Consistency Across Pages
Uniformity is key to creating a cohesive and elegant recipe book. Use consistent margins, font styles, spacing, and color schemes throughout. Align images and text boxes neatly to maintain a clean look. Each page should feel connected to the rest of the book while allowing the recipes to shine individually.
If you’re using professional design software such as Adobe InDesign or Illustrator, set up master pages to apply consistent headers, footers, and page numbers. This saves time and prevents formatting inconsistencies during the layout process.
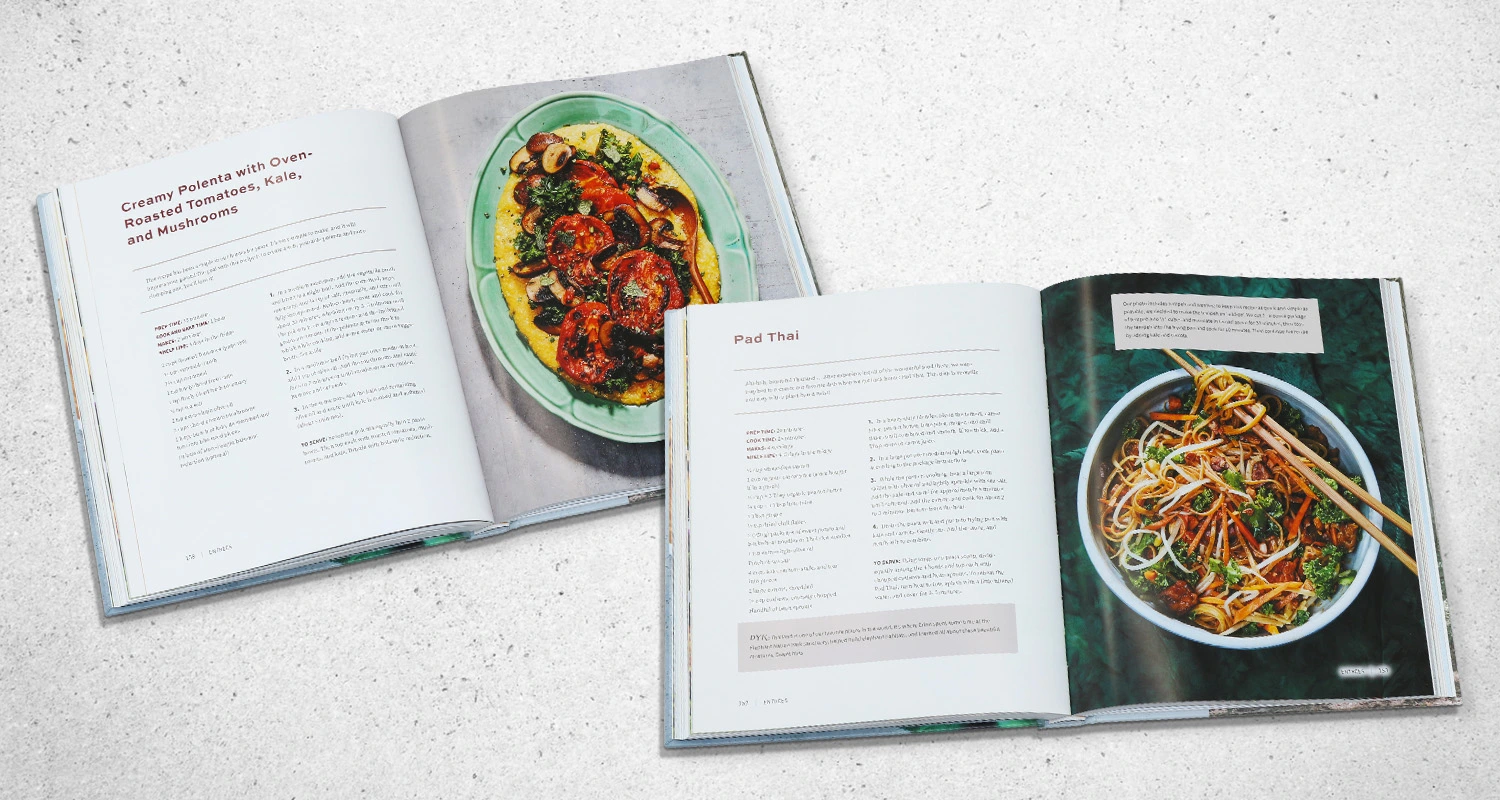
Balance Text and Visuals
A well-designed recipe book strikes a balance between words and images. Avoid crowding the page with too much text or oversized photos. Give each recipe enough white space so it feels inviting and easy to read. You can alternate full-page photos with text-heavy recipe pages for a dynamic visual flow.
Prepare for Print Specifications
Before sending your file to a printing company, review their specific requirements. Check details like:
-
Trim size and bleed settings (The standard recipe book trim size is typically 8.5 x 11 inches, with a typical bleed of 3 mm or 0.125 inches).
-
Resolution: Ensure all images are 300 DPI and in CMYK color mode.
-
File format: Save your layout as a print-ready PDF.
-
Margins: Keep key text and visuals within safe margins to prevent trimming errors
Once your layout is complete, print a test copy or digital proof. Review every page carefully for alignment, clarity, and design consistency. Catching small issues early ensures your final printed cookbook looks polished and professional.
By organizing your layout with care, you’re setting the stage for a seamless printing process and a cookbook that’s both functional and visually stunning, a true reflection of your culinary vision.
Step 7: Create a Recipe Index and Table of Contents
Once your layout is organized, the next step is to create a Table of Contents and a Recipe Index. These two essential elements make your cookbook easy to navigate and enjoyable to use. These sections not only guide readers but also elevate your book’s professionalism and usability. A thoughtfully designed index and table of contents help readers quickly find their favorite recipes, ingredients, or meal categories, making your cookbook both practical and reader-friendly.
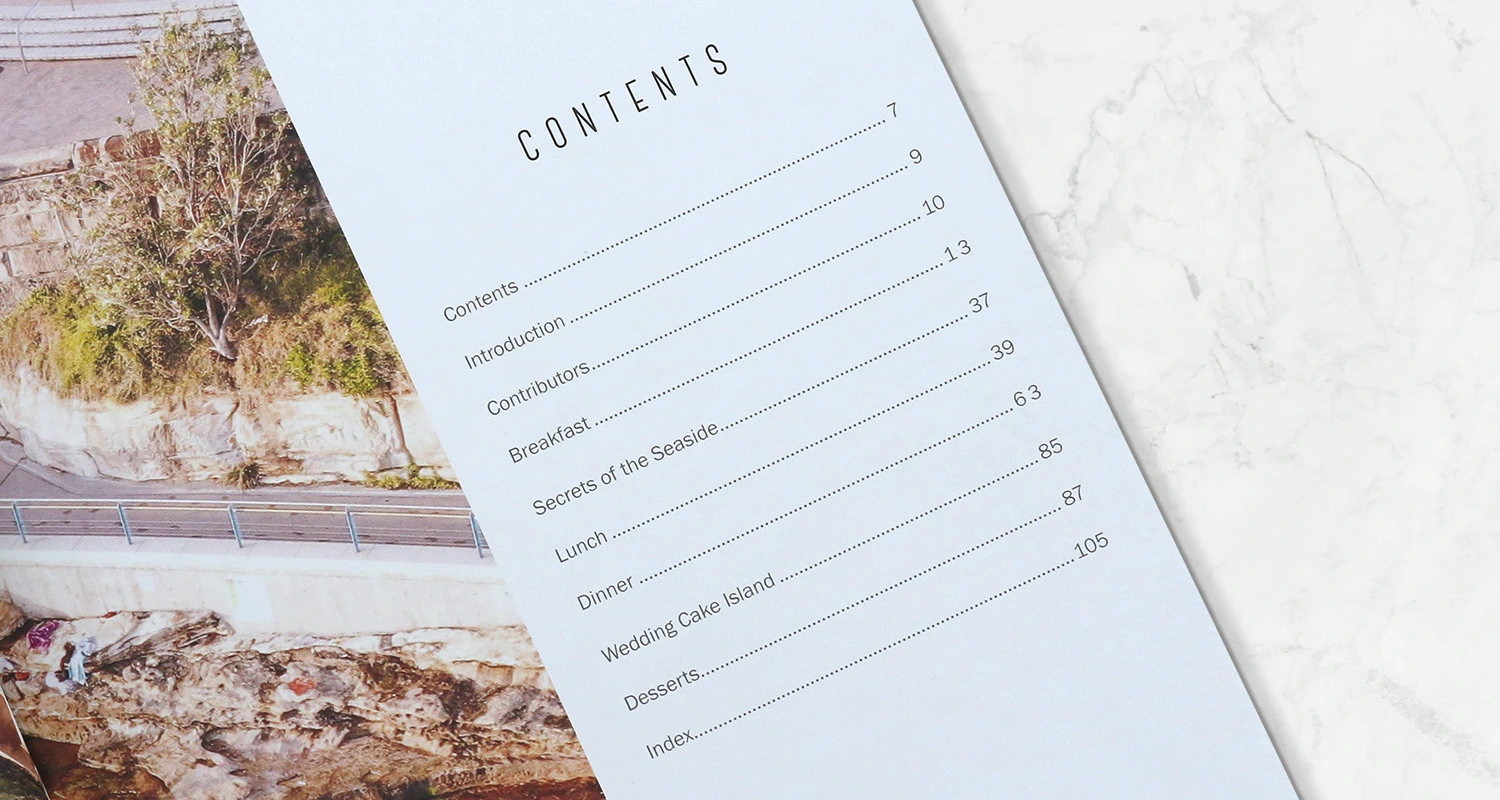
Designing the Table of Contents
Your Table of Contents (TOC) is the roadmap of your book. It appears at the beginning, usually after the introduction, and provides a clear overview of what’s inside.
Organize the TOC according to the structure of your book. For example:
-
Introduction
-
Breakfast Recipes
-
Lunch and Light Meals
-
Dinner Favorites
-
Desserts
-
Drinks and Smoothies
-
Conversion Charts
-
Index
Make sure the page numbers match the final layout of your book. A clean, easy-to-read format helps readers jump directly to their desired section. If your cookbook is themed, such as vegetarian dishes, family recipes, or regional cuisine, consider grouping the sections in a way that reflects the overall concept of your book.
To enhance usability, you can also include subheadings for featured recipes under each category (for example, “Chocolate Chip Cookies – p. 42”). This small detail makes your TOC more functional and visually engaging.
Building the Recipe Index
The Recipe Index typically appears at the back of the book and functions as a detailed search tool. While the TOC lists sections, the index lists every recipe alphabetically or by key ingredient, helping readers quickly locate specific dishes.
Here are some common ways to organize your index:
-
Alphabetical Order: Best for quick reference (e.g., “Apple Pie,” “Banana Bread,” “Carrot Soup”).
-
By Main Ingredient: Ideal for practical use (e.g., “Chicken,” “Fish,” “Vegetables,” “Chocolate”).
-
By Category or Theme: Useful for specialty cookbooks (e.g., “Vegan,” “Gluten-Free,” “Holiday Recipes”).
You can also add icons or symbols for special dietary tags, such as 🌱 for vegan or 🥛✖️ for dairy-free, to make the index even more reader-friendly.
A well-designed table of contents and index not only enhance user experience but also demonstrate attention to detail. They turn your cookbook into a true reference guide — something readers will return to again and again. By investing time in these sections, you make your printed recipe book organized, accessible, and enjoyable to use, the mark of a professionally produced cookbook.
Step 8: Review and Prepare for Printing
Before sending your recipe book to print, take time to conduct a thorough final review. This last step is your opportunity to ensure everything is perfect, from layout to image quality, so your finished cookbook looks polished and professional. A careful review minimizes the risk of costly reprints and guarantees that every detail aligns with your creative vision.
Final Review Checklist
Use this checklist to confirm your book is print-ready:
-
Recipe Formatting: Review every recipe to make sure formatting is consistent. Titles, ingredient lists, instructions, and notes should follow the same structure throughout the book. Consistency creates a professional look and makes reading easier.
-
Image Quality: Double-check that all images are high resolution (300 DPI) and saved in CMYK color mode for printing. Low-resolution or RGB images can appear blurry or discolored once printed.
-
Page Numbers and Layout: Confirm that all pages are numbered correctly and that no sections are missing or duplicated. Ensure text, images, and margins are properly aligned, with no important details falling too close to the trim area.
-
File Format: Export your final file as a print-ready PDF according to your printer’s specifications. This should include the correct page size, bleed area (usually 3mm or 0.125 inches), and embedded fonts to prevent layout shifts.
The Importance of a Careful Review
A meticulous review ensures that your recipe book maintains its quality from screen to print. Even small details, like a misplaced image or missing page number, can affect the final product’s appearance. Taking time for one last proofing step not only saves time and cost but also reflects your professionalism and dedication.
When every page has been checked and perfected, you can confidently send your cookbook to print, knowing it’s ready to impress readers and bring your culinary vision to life.
Common Mistakes to Avoid When Organizing Recipes for Printing
Even the most passionate cookbook creators can run into challenges when preparing their recipes for print. While organizing may seem straightforward, small oversights can cause big problems later in the design or printing stages. Avoiding these common mistakes will help ensure your recipe book looks polished, cohesive, and print-ready.
Mixing Formatting Styles
One of the most common mistakes is inconsistency in formatting. Using different fonts, font sizes, or heading styles across recipes makes the book look unprofessional and harder to read. Readers appreciate a clean and predictable layout. Decide early on a consistent structure, title format, ingredient list style, step numbering, and spacing, and apply it to every recipe before layout design begins.
Forgetting to Standardize Measurements
Inconsistent measurement systems can confuse readers and lead to cooking mishaps. Switching between cups, grams, and ounces without clarification breaks the flow of the book. Choose one measurement system (metric or imperial) and stick to it throughout. If your audience is international, consider providing both units in a clear and organized way.
Using Low-Resolution or Poorly Lit Photos
High-quality visuals make a huge difference in a printed recipe book. Photos taken in low light or saved at low resolution may appear blurry or dull when printed. Always use images with at least 300 DPI in CMYK color mode for print. Consistent lighting, background style, and image dimensions also create a more professional look.
Overcrowding Pages with Text or Images
Cramming too much information or too many photos onto a single page can make your book feel cluttered and overwhelming. White space is your friend; it gives the eyes a break and helps highlight important details. Aim for a balanced layout where each recipe has room to breathe, making it both functional and visually appealing.
Neglecting Proofreading and Testing
Even beautifully designed recipe books lose credibility if the recipes contain errors. Misspelled words, missing ingredients, or unclear steps can frustrate readers. Before finalizing your layout, test your recipes or have others review them for clarity and accuracy. A second pair of eyes can catch mistakes that you might overlook.
Ignoring Printer Specifications
Skipping your printer’s technical requirements is another frequent issue. Failing to include proper bleed, margins, or CMYK color settings can result in trimmed text, faded colors, or costly reprints. Always review your printer’s guidelines and export a print-ready PDF to their specifications.
Organizing recipes for printing is both an art and a process. Avoiding these common mistakes will save time, reduce stress, and ensure your finished cookbook looks as professional as it tastes delicious.
Where to Print Your Recipe Book?
Ready to bring your recipe book to life? At BookPrintingChina, we specialize in custom recipe book printing. Our team is dedicated to helping you create a beautiful, professional product that you’ll be proud to share. Contact us today to discuss your project and discover how we can assist you in achieving your vision.
Feel inspired to start your recipe book journey? Reach out to us at BookPrintingChina for expert guidance and quality printing services. Let’s transform your culinary creations into a treasured keepsake.